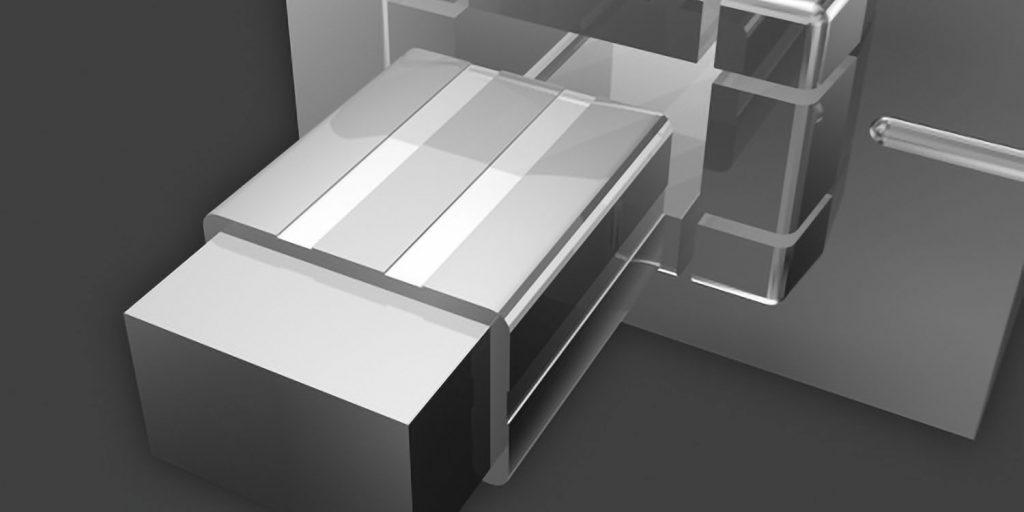
It is important to understand that all the air in the mold cavity must escape to atmosphere in order for the plastic to properly fill the mold cavity. Inadequate venting is an extremely common cause of molded part defects. At Routsis Training, customers sometimes ask us how many vents a particular mold should have. It’s a simple question to answer:
Q: “How many vents are required?”
A: “As many as possible.”
While this information is obviously critical to mold designers and mold makers, it is also important for production personnel to understand this concept when troubleshooting molded part defects. Let’s review what is happening with the mold, plastic material, and your process with respect to venting.
Air Volume = Plastic Volume
The moment you start pushing plastic into the mold, air must escape the mold cavity. This means the more avenues the air has to escape, the faster and easier the material can enter the mold. It is important to allow the volume of air in the cavity and runners to escape the mold to atmosphere so it can be effectively displaced by the incoming plastic.
Mold designers often indicate an end-of-fill location as the best place to vent, but this just one of many vents you must cut into your mold. In fact, you should vent the runners, sprue puller, cold slug, slides, bosses, lifters, ejector pins, ejector blades, stripper plates, start of fill, middle of fill, and the end of fill.
All these vents must have a clear path out of the mold to atmosphere. When the plastic resin enters the cavity, you want an even, uninterrupted flow. Venting everywhere ensures this.
Aqueous Volatiles
Plastics have all sorts of additives, moisture, stabilizers, plasticizers, lubricants, low molecular weight chains, colorants, etc. When the plastic pellets are subjected to the heat and sheer during the molding process, they give off gas — resulting in aqueous volatiles. You often see this as a waxy buildup along the vents and the ejector pins.
Over time, these volatiles collect on mold surfaces, causing inconsistent part finish and gloss, and decreased surface texture quality.
Internal Stresses
If most of the air does not escape, the part will have internal stresses and will deform after it is ejected from the mold. This often results in cracking, crazing, and part warpage. Looks for signs of bad venting such as consecutive circles or a cloudy area at the gate, shiny spots at the parting line, as well as inconsistent gloss.
Narrow Process Window
Your process window is greatly affected by the range of pressures in which you can fill and pack the mold cavity. If a great amount of pressure is needed to push the gas out of the mold, you have a very small process window between filling the mold cavity and flashing the tool. It is not uncommon to see molds where the venting is so inadequate that the mold cavity cannot fill without flashing — because the escaping gas forces the mold open.
We hope this information has helped educate you on the important of proper mold venting. Tooling personnel can learn more from our Mold Design & Moldmaking Series. The importance of venting is also discussed in Scientific Troubleshooting for Injection Molders.

0 Comments Leave a comment